Glitch Corridor encounter #1 - "World Revolving" - Postmortem and Text Guide
My main Glitch Corridor design goal was to balance high difficulty on multiple axes:
- Learning fresh mechanics and reading "overlapping" combinations
- Difficult "bullet hell" dodging
- Puzzle elements
- Uptime positioning & damage checks
The overall flow of the encounter is: First, a set of "teaching" mechanics that introduce players to the new attacks. Next, harder versions that require accurate reads and pre-positioning. Then a series of fast-paced mechanics that can only be passed if you have a solid grasp of how the attacks work. The "bullet hell" difficulty curve is like a triangle, toughest right in the middle. When designing long challenging content I aim to frontload as much of the difficulty as possible. But as the card suits needed to be taught early, the difficulty peaks had to be placed in the middle instead. A "victory lap" phase at the end is designed to be easy but cinematic. Finally a cutscene-like attack will kill you if you have not fulfilled one of the requirements of the fight.
The puzzle elements in this encounter ended up being fairly light outside of learning card combinations. There is an attack that needs to be baited in a certain way such that you end up in a safe spot, but you can circumvent this in most cases by using the Rush Cape. And there is one major "secret" to discovering how to reach 100% TP, hidden in plain sight. Testers theorycrafted the solution within a few days.
The fight has two damage checks, a short one which is pretty tough (and nerfed significantly in v1.0a), and the main boss enrage which is quite lenient. Player feedback also suggested the 2nd to last phase was too long, so in v1.1 i moved the enrage back from 2:30 to 2:15, shortening that phase and making the damage check a bit tighter. With this change I also reduced total boss health slightly to compensate, so the damage check is still by far the least difficult part about getting a clear.
I set out to create a fight with extreme progression difficulty while still being really fun. I didnt want my difficulty to rely on overwhelming RNG, unreasonable reaction times, or excessively long fight length. And based on messages from those who cleared, I think I achieved this goal.
Huge congratulations again to TetraField, who won the prize for world first clear. At the time of writing this, three people have cleared total - additional congratulations to Iruenn and xoro1. Based on their playtime, the fight takes roughly 12 hours to learn, but getting that one good run where you execute everything perfectly takes a ton of patience, so big kudos to everyone for persisting!
== Clear video examples ==
v1.0a - World first clear by TetraField feat. Iruenn snoring
Loadout: Rush Cape + Pea Shooter + Cross Beam
v1.1 - Clear by me during a playtesting session
Loadout: Focus Cape + Wide Shot + Cross Beam
== Full Text Guide ==
Phase #1 - Suit Markers (0:00)
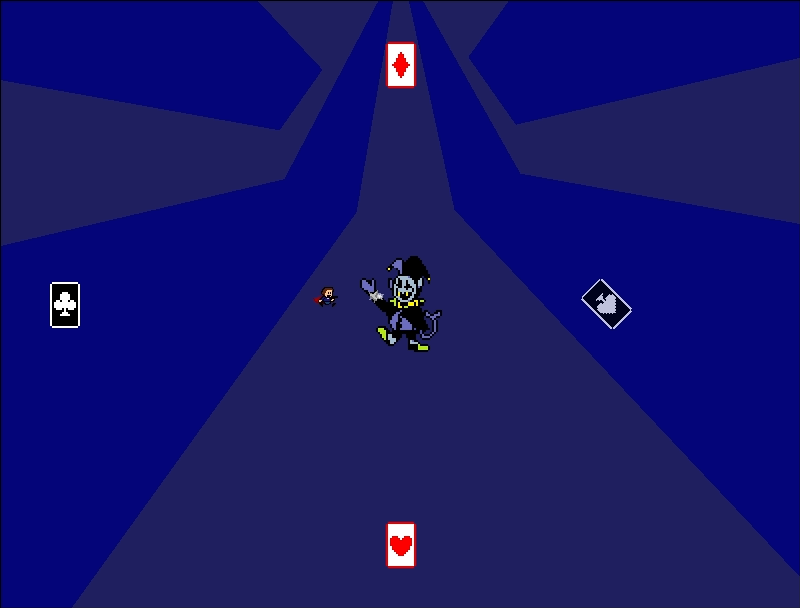
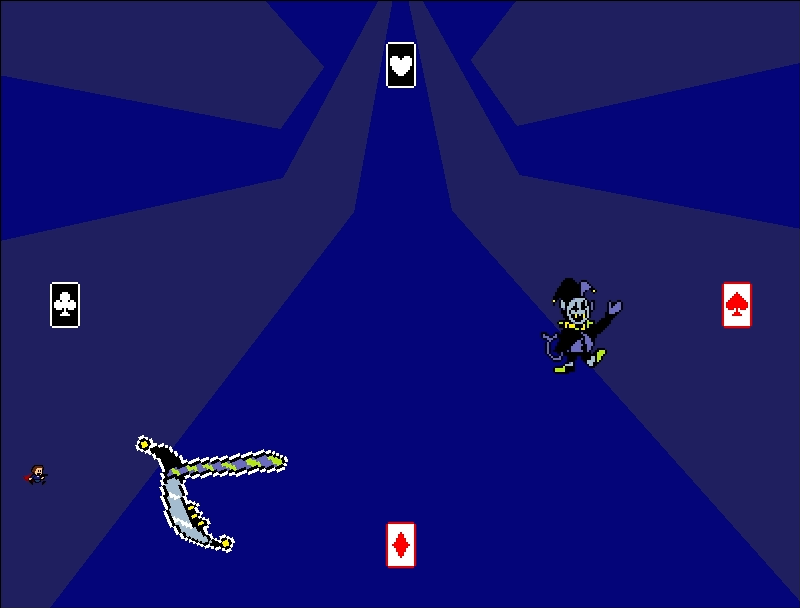
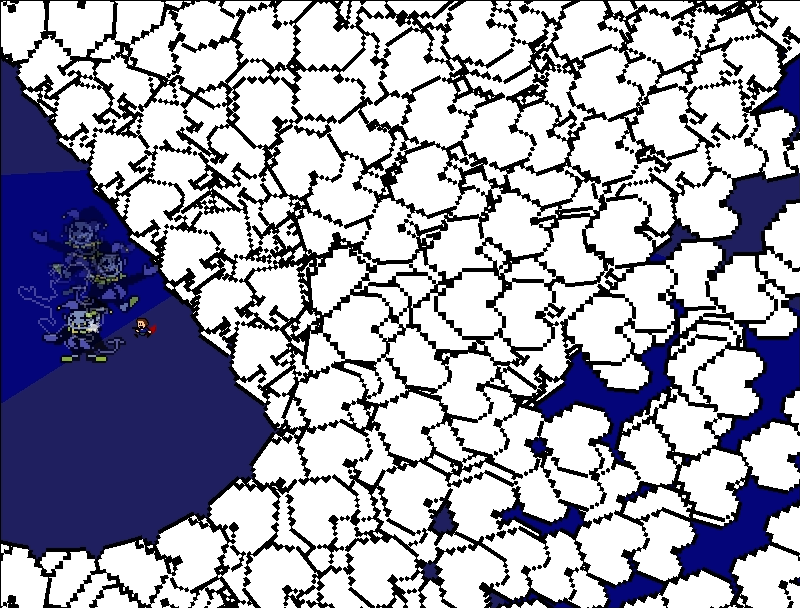
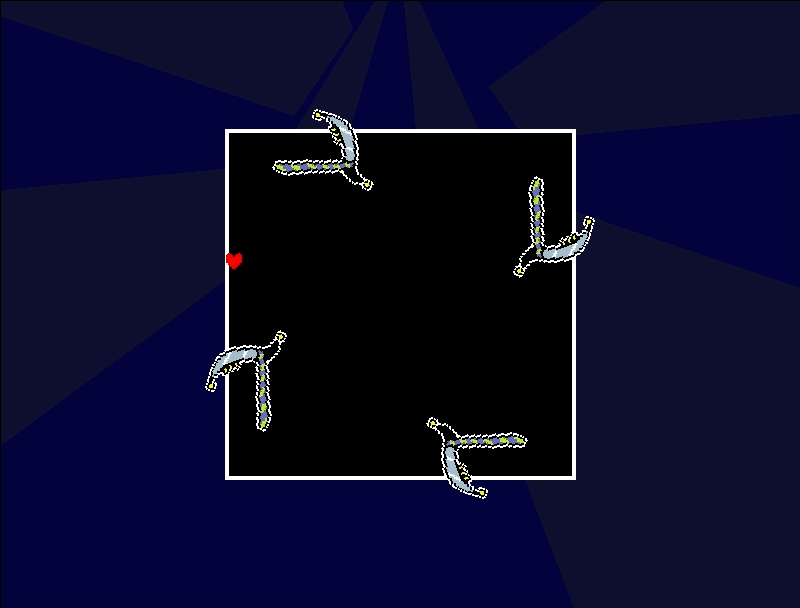
4 cards are thrown at the arena edges (up, down, left right), starting at the top and ordered either clockwise or counter-clockwise. Jevil then teleports to each one in turn, in the order he threw them (this is important), and on touch the cards mechanic is activated. One of each spade, heart, club, and diamond is thrown. Memorising what these cards do is required to progress through the fight.
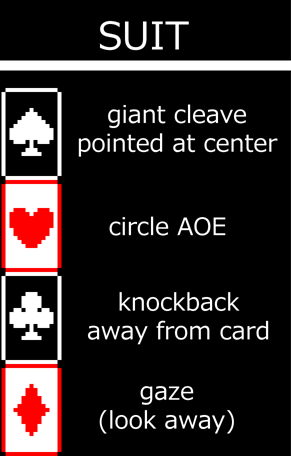
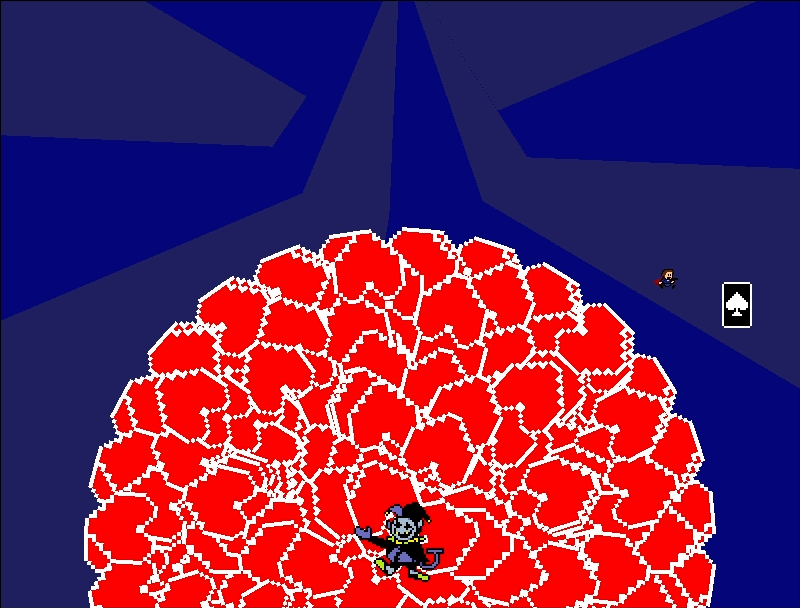
The spade cleave is a triangle connecting the two opposite corners, leaving 50% of the arena safe. The heart AOE is a point-blank circle, be far from the boss to survive. Club stuns you and propels you away from the card, about half a screen length: be close to the card and far from the arena edge as touching the boundary is lethal. Diamond is a "gaze" attack, you must not be looking at the boss when it goes off (there is a particle and sound effect to denote the timing)
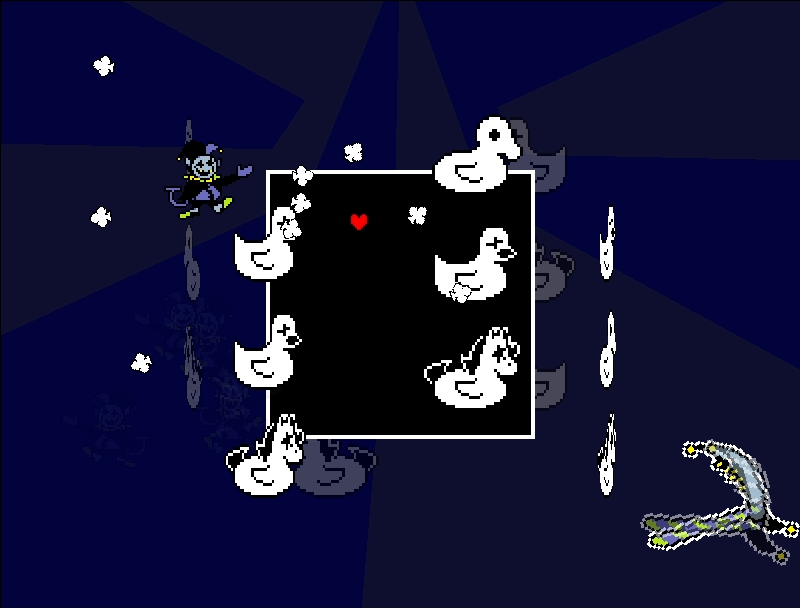
Phase #2 - Bullet Board 1 (0:15)
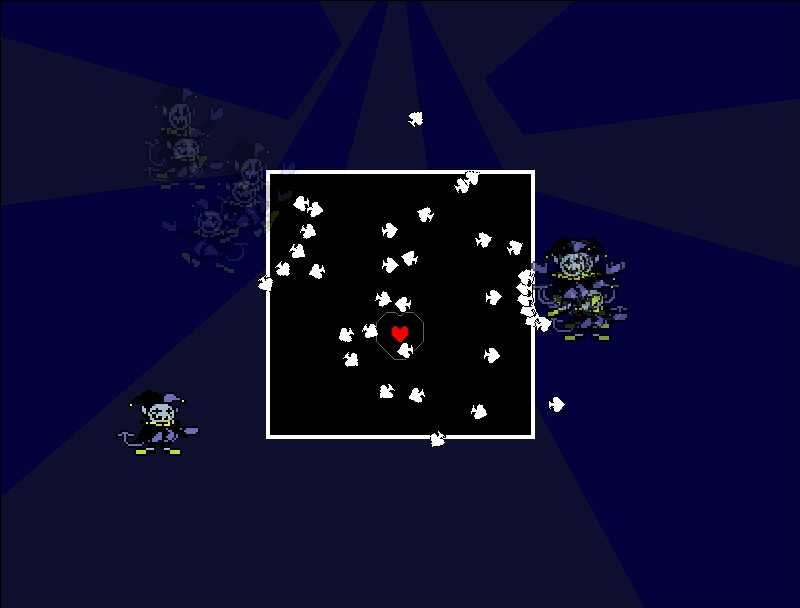
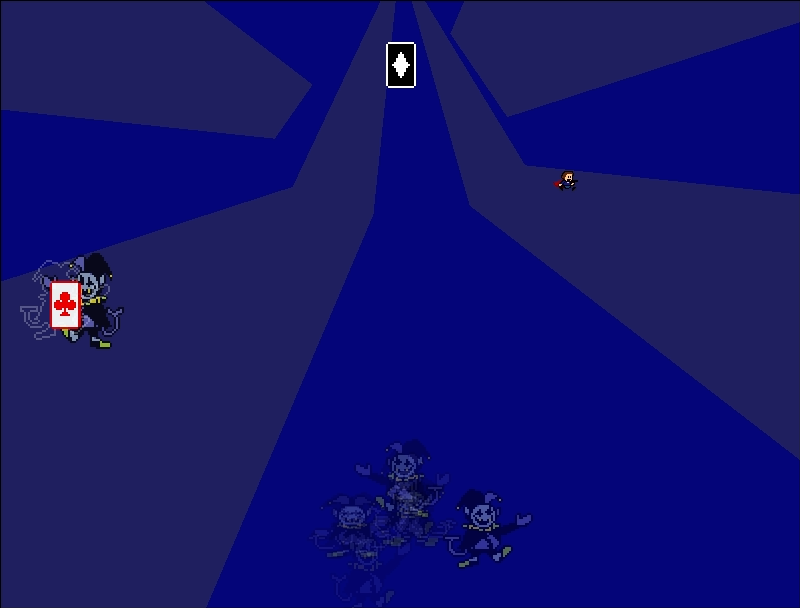
Next, the player becomes a heart and is sent to the center of a small arena like in Undertale. Your abilities are silenced here - all you have to concentrate on is dodging. A "Tension Point" meter also appears on the left of the HUD. Grazing bullets while you are a heart fills the TP meter. This first attack is a simple streaming pattern - an easy one for shmup veterans - bullets are aimed directly at you, so dodge by slowly tapping in one direction. All bullet board patterns are renditions of attacks from the original Jevil fight in Deltarune.
Phase #3 - Suit Markers 2 (0:23)
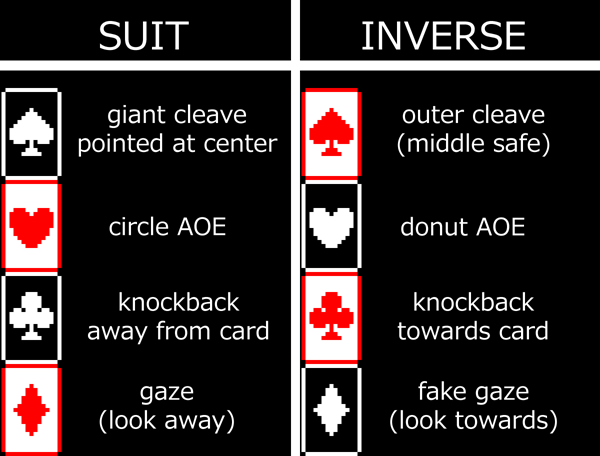
Now its time for a little Chaos! This time Jevil will throw cards at the arena edges (up, down, left, right) in a completely random order. Remembering this order is crucial as it is often impossible to stay alive just by reacting to his movement. After the 4th card he throws a Devilsknife aimed at your position, which will then spin in place for the next few phases. When learning the fight, bait this off to one side so its out of the way. Lastly, 2 of the 4 card suits will be "inverted", they have the opposite dangerous effect:

Phase #4 - Bullet Board 2 (0:38)
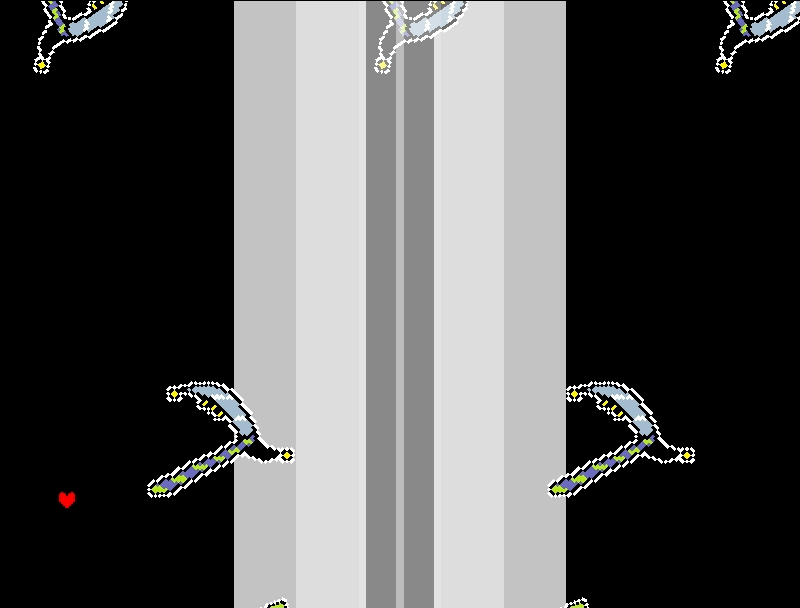
Once again you can ignore DPS uptime and focus on dodging. This time two of Jevils patterns will happen at once: Firstly, a carousel will rotate around the board and oscillate up and down. The pattern is exactly the same each time you attempt it, try to figure out a safe path that works for you. Jevil also teleports randomly around the outside and fires some small aimed bullets. This is the first difficult bullet hell section.
Phase #5 - Clownpiece + Suit Markers (0:50)
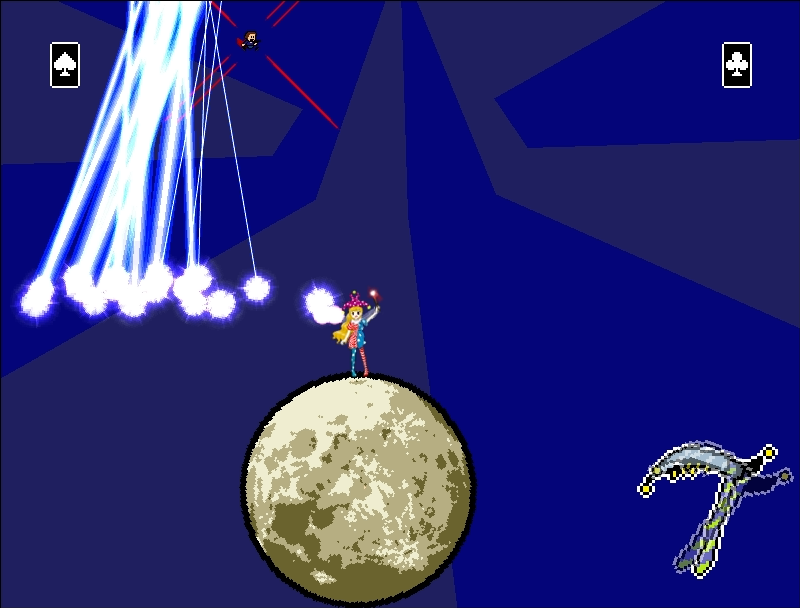
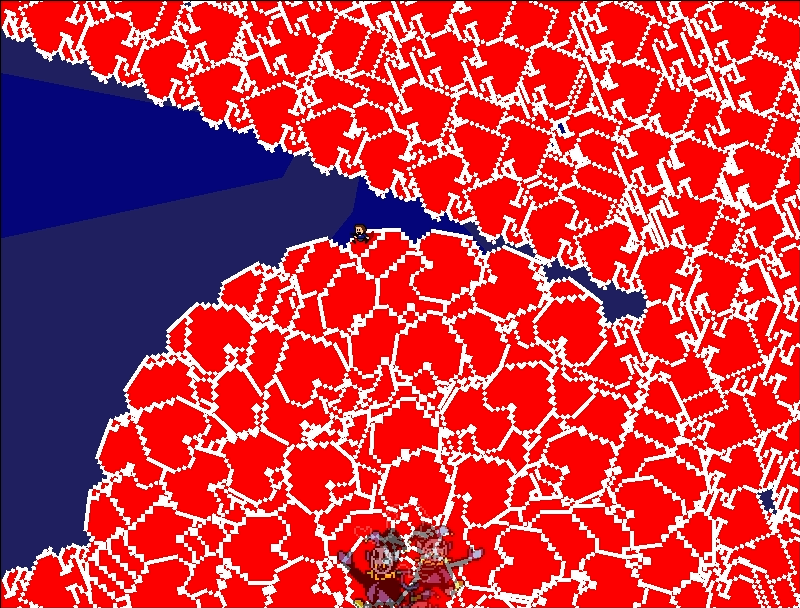
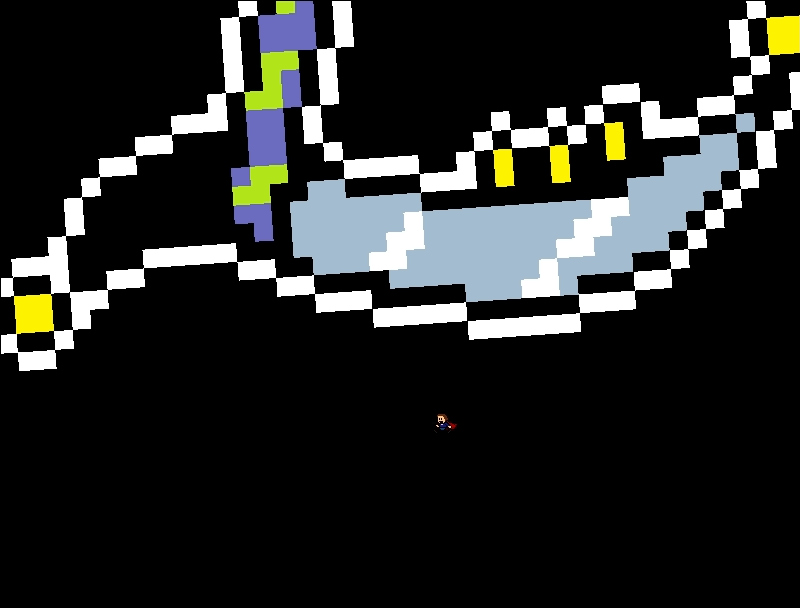
Jevil will now throw two cards in the upper corners. One club and one spade, inverted at random. For ideal positioning, determine which side of the arena you want to be when the knockback goes off (close to a black club or far from a red club), and move to the opposite side. Clownpiece will then fall into the arena from the upper left side, riding a giant moon. She will immediately start firing lasers that are aimed directly at you. Stream these lasers towards the safe side of the arena. When Clownpiece leaves the arena, adjust so that you are knocked back into a safe spot. The laser hitboxes fade out at the same time as the knockback effect, so dont worry about being pushed through the beams.
Phase #6 - Bullet Board 3 (1:05)
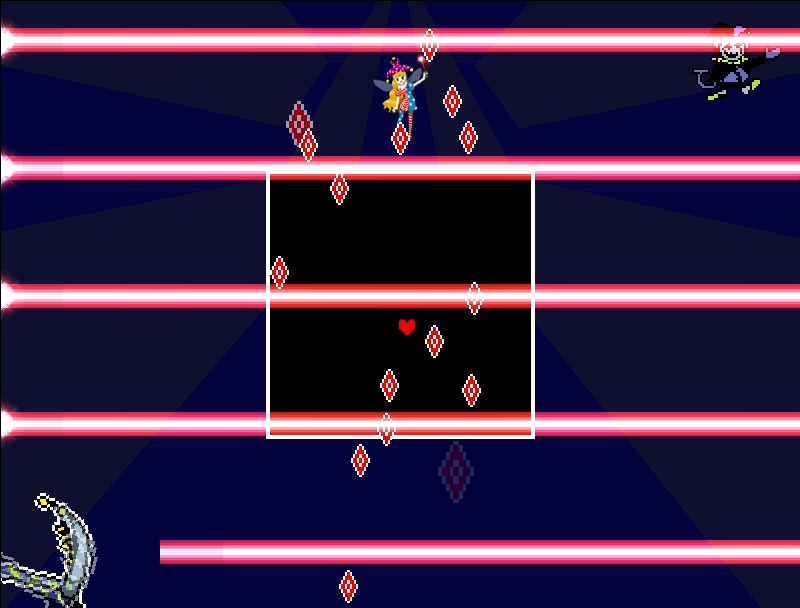
Jevil will spawn diamond bullets at the top and bottom of the board which move directly up or down. After a moment, Clownpiece will appear and fire horizontal lasers that slowly sweep downwards across the board. This happens twice. To dodge, begin at the top of the board and move downwards between the lasers. At the very end, the baited Devilsknife will aim at you, turn red, stop spinning, and then fire itself in the aimed direction. Jevil says a voice line at the time the aiming "snapshots". This pattern is the difficulty peak for bullet hell type dodging.
Phase #7 - Clownpiece DPS Check (1:24)
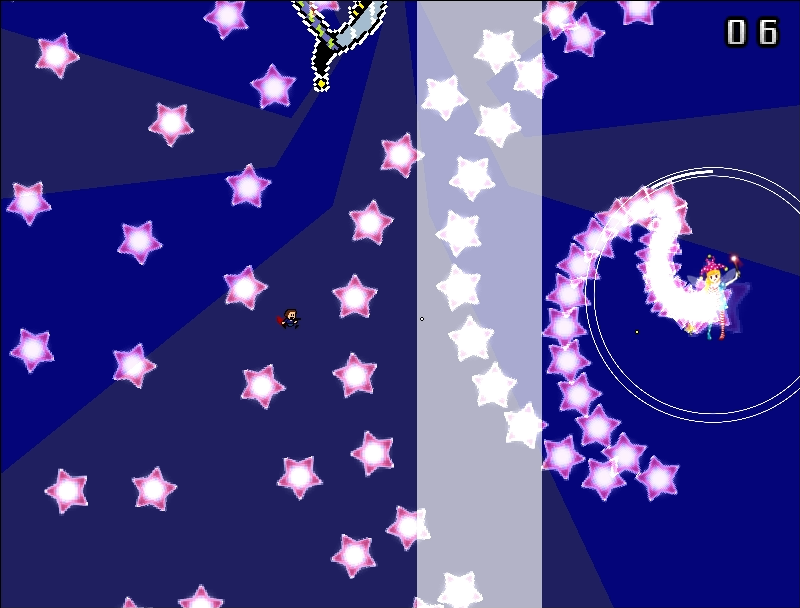
Clownpiece will appear on the right side of the screen, begin damaging her immediately. She will fire semi-dense stars while Jevil drops Devilsknifes from the top of the screen. These are baited - they alternate between appearing above you and appearing to either side of you. This phase is timed, if you do not defeat Clownpiece within 15 seconds the timer runs down and the player dies. note: the timer itself kills you, in the current version of the game there is no killing blow animation.
Phase #8 - Double Suit Markers or "Pre-Final" (~1:35)
This phase is the climax of the fight, when I was first designing the encounter this is the thing I wanted to build up to: Jevil zooming around the arena throwing cards and yelling about chaos.
Jevil will throw two random cards at two random screen edges (up, down, left, right). He will then rapidly teleport to them both, activating them in quick succession, so you must find the safe spot for both cards. If the first card is a club, you must position yourself correctly before being knocked back, as the second card will activate while you are stunned. You also cannot turn left or right during the knockback so you must be facing the correct direction for gaze attacks. Familiarity with the 8 card effects is key here. Jevil will continue repeating this until the next phase, or until his health bar depletes. He is wiggling around extra hard here and his hitbox has faded out - you cannot die on contact so dont worry about being knocked back through the boss.
Depending on your loadout, DPS uptime is difficult during this phase, but there is another opportunity to hit the boss before the final DPS check. At this point in the fight, it probably isnt worth sacrificing safe positioning for an extra hit or two.
Phase #8.b - Final DPS Check and Enrage (2:15)
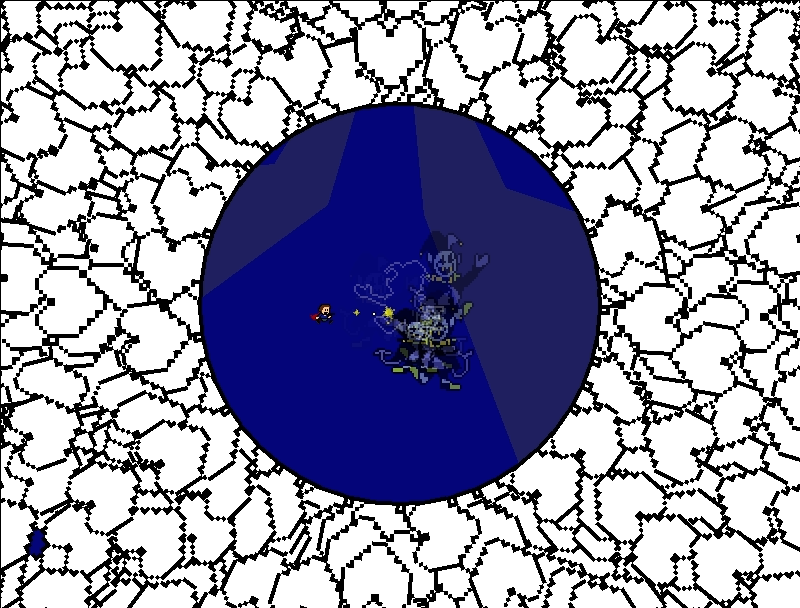
When the timer hits 2:15 and all cards have finished resolving, Jevil will place a black heart marker in the center of the arena, which will create a circle that slowly fills the arena until you are killed. Jevil stays still right in the middle so just do as much damage as you can. If you deplete Jevils health bar, this circle disappears immediately and you enter the last phase.
Phase #9 - Final Chaos (~2:30)
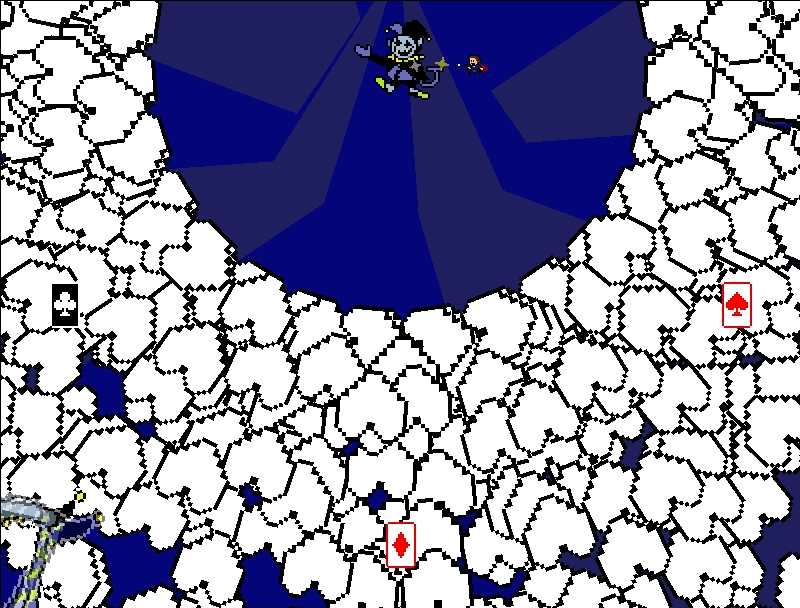
You are once again placed in a bullet board, this time the board slowly expands until it fills the entire screen. Devilsknifes will fall from the ceiling, first hitting the middle, then leaving the middle safe. Four rotating Devilsknifes then spin through the center of the board for a few rotations before leaving (Nerfed in v1.1). Next, reminiscent of the original Jevil fight, a series of aimed and then patterned Devilsknifes will fall, followed by one last Devilsknife which is gigantic and fills the entire screen, falling very slowly. The heart disappears and you are no longer silenced. If you do not have full Tension Points here you will die, as the gigantic attack cannot be dodged.
Wild Card Special Ability and Tension Point Check
Your special for this encounter is fixed, a unique ability called "Wild Card". When at 100% Tension Points, you can activate it to become invulnerable for a short period. In order to reach full TP however, the persistent spinning Devilsknife that was baited in phase #3 needs to be placed within range of the bullet board, so that you can farm it for graze during phase #4 and #6. Where you bait it is up to you. The original intent was to place it close to the bottom of the board, where it wont be in the way during Clownpieces moon driveby. Players placed it at the top, to me this feels riskier overall but you can get more graze this way.
In bullet board 1, stream to graze the spades. In board 2, graze the Devilsknife while the carousel is appearing. Going in to board 3 you should have about 50% TP. Most of the graze you get from this phase will come from the sweeping lasers. During final chaos the falling Devilsknifes and their explosions give a point of graze each, and the spinning ones can be grazed repeatedly, but ideally the meter is already full or only needs a few percent to be topped off.
Leave a comment
Log in with itch.io to leave a comment.